2020年10月27日星期二

Latest launch X431 V+ HD3 support Heavy Duty Module 1996 -2020 year

 Launch X431 V+ with one add-on HD3 Heavy Duty Module is a very cool truck diagnostic tool. Simple tablet appearance, high-tech HDIII module, high-definition touchscreen (1920*1200), faster running speed (Lenovo Tablet TB-X605FC, Android 9RAM 2G  Storage 32GB CPU Snapdragon 450 Display). It is more than a professional diagnostic tool, it owns more than 15 special functions. It can work with newest 2020 heavy duty trucks. Moreover, its vehicle software language is multilingual: English, German, French, Italy.


Launch X431 V+ & HD3

Image 1: Launch X431 V+ supports heavy duty Hino from 1996 -2020 year.

Image source: http://qcar.x431.com/newqcar/ (Launch official site)


Launch X431 V+ has a wide vehicle brand coverage: truck, bus, machinery, Engine, New Energy

1. Workable Truck List

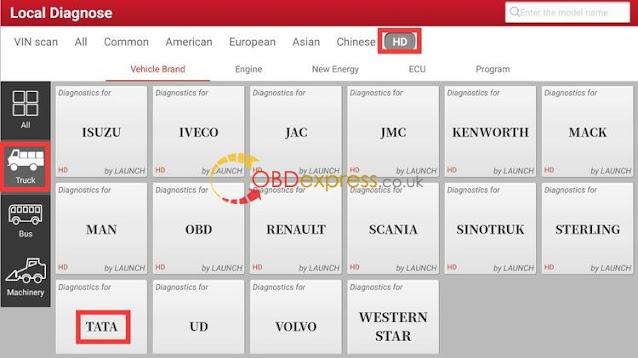
HD_Demo, Astra, Mercedes Benz, Credo, DAF, DFL, ERF, FAW, Ford, Foton, Freightliner, Bremach, Fuso, Ashok leyland, Hino, Hyundai, International, Iris Bus, Isuzu, Iveco, JAC, JMC, Kenworth, Mack, Man, OBD, Renault, Scania, Sinotruck, Sterling, Tata, UD, Volvo, Western STAR.

Launch X431 V+ & HD3Launch X431 V+ & HD3


2. Workable Bus List

Higer, Hino, Hyundai, Irizar, Isuzu, Man, Neoplan, OBD, Renault, Setra, Sitcar, Sunlong, Sunwin, Volvo, Zhongtong.

Launch X431 V+ & HD3


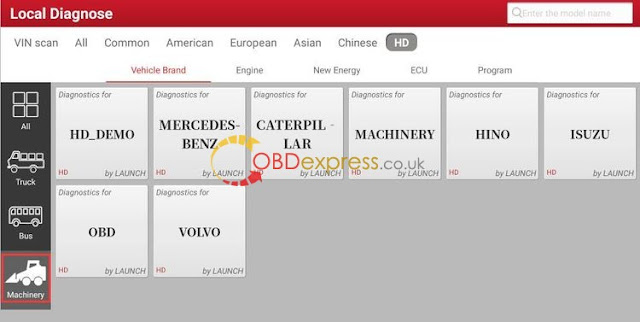
3. Workable Machinery

 HD_Demo, Mercedes Benz, Caterpillar, Hino, Isuzu, OBD, Volvo.
Launch X431 V+ & HD3


4. Engine coverage

HD_Demo, Caterpillar, Chaochai, Cummins, Dachai , Detroit, OBD, Quanchai, Shangchai, WP, Xichai, Yangchai, Yuchai.

Launch X431 V+ & HD3


5. New Energy coverage:

HD_Demo, Chaochai, Cummins, OBD

ECU: ABS, Allison, Bosch, SCR, OBD

 Launch X431 V+ & HD3

Program: Allison, Chaochai,Detroit, Yangchai etc.


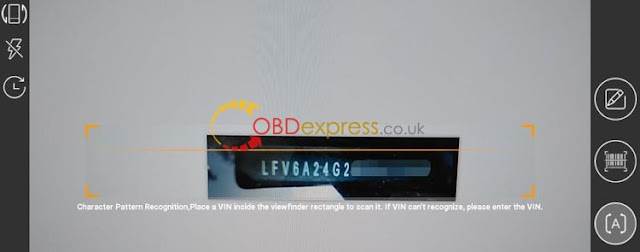
Launch X431 V+ optimize a new function "Camera scan VIN":

Tap "VIN scan" and you will see "Camera Scan". It equals to a Camera, with it you won't manually input the VIN and it will be 100% correct.

Launch X431 V+ & HD3Launch X431 V+ & HD3 

Launch X431 V+ & HD3


Launch X431 V+ owns powerful functions:

Let's go forward to selecting a vehicle (like Cummins), then "System Automatic", it can do: read vehicle information, read DTC, clear fault memory, read data stream, read freeze frame, actuation test, feature and parameter, advanced ECM data.

For more other vehicle's function list, please go to the above official sit to search.

Launch X431 V+ & HD3


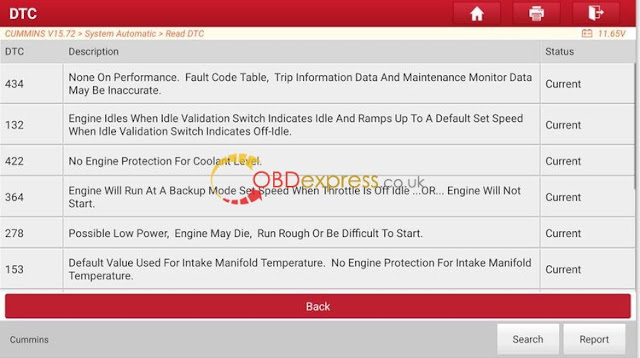
After entering " read DTC" and have the results shown as below:

It will not only list DTC codes, but also comes with description and status. That's very convenient without searching in the Google. 

Launch X431 V+ & HD3

Launch X431 V+ & HD3


The next one option is "Feedback ". In the process of testing, if you can't test or encounter other problems, you are allowed to submit the logs in testing to the Launch server.  Then the engineers will analyze and find out the problem to help you solve it.

Launch X431 V+ HD3


6 Steps to register Launch X431 V+:

To protect your machine and data safety, also enjoy the free update, you are required to register a member for the first time.


1. Select "Login".


 Launch X431 V+ HD3

2. Select "New registration".

Launch X431 V+ HD3


3. Enter the user name & password, enter the password again. Enter the usual email address. Select the country. Enter the CAPTCHA verification code. Click "Register".

X431 V+ & HD3


4. Open the envelope in the product, enter the SN number inside, and activate the password--click ACTIVATE

Launch X431 V+  HD3


5. Congratulations! you've registered successfully, you are ready to use the machine.


 Launch X431 V+  HD3

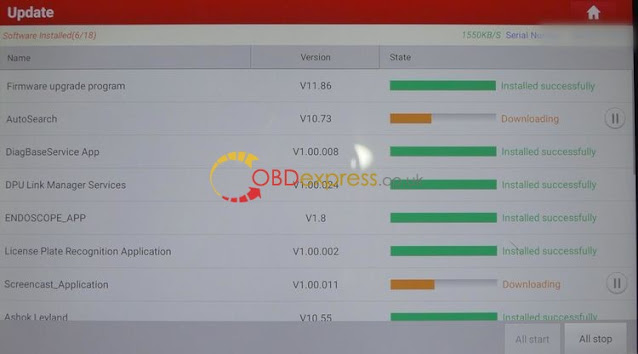
6. Software update.

 As you can see, I selected all available newest truck software to update, just wait until it succeed. 

Launch X431 V+  HD3

Launch X431 V+  HD3


In addition, after entering "User Info", there are " Activate VCI" and "Firmware Fix", just click on them and follow the screen to do.

 Lauch X431 V+ & HD3


Alright, if you are interested in launch X431 V+ HDIII Heavy Duty Module, or have any technical issues, welcome to visit https://www.obdexpress.co.uk/


http://blog.obdexpress.co.uk/2020/10/27/launch-x431-v-hd3-firmware-update/ 

2020年10月25日星期日

X431 Pros Mini 958.2 Porsche GTS steering angle calibration: confirmed


I retrofitted the Heated Steering wheel on 2016 958.2 Porsche GTS, because I missed my heated wheel. I bought a new heated wheel and the heated wheel button so I can disassemble my current wheel and reassemble everything onto the new wheel. I am just having an issue with what exact part is needed. do I need a completely different part that isn’t the clockspring? And do I need to buy a new part or is a used one acceptable?

And then on to coding it, what exactly needs to be coded? I have a Launch X431 Pros mini that does most coding and hopefully will do whatever is needed.


I will record all what I did:

Date: 09-19-2020

I’ve done more digging and it seems it could be easier than I originally thought. At this point it looks like I only need a clockspring with the heated wheel power pins, part # 95B953568A or 95B953568C or 95B953568E from a 15-18 cayenne or Macan.

I already have the heated wheel and heated wheel switch. Once I find the clockspring and install it all I will need to do a steering angle sensor calibration and then code the steering wheel control module to accept the heated wheel.

I have a Launch X431 pros mini and confirmed last night it will do the steering angle calibration and I was able to get into the steering wheel control module to where it said heated wheel not installed. It let me change to installed, but would not write the code because it’s not yet installed hopefully.

I did also see a thread on a Macan where the person used a used clockspring and the steering wheel control module from another car with the heated wheel already coded and it worked for him, but still had to do the SAS calibration.


Date: 10-09-2020

I now have the clockspring with the heated wheel

contacts, the heated wheel switch, and the heated wheel will be here next week and I will update on the outcome!

X431 Pros Mini 958 2 Porsche Gts The Steering Angle Calibration 01

X431 Pros Mini 958 2 Porsche Gts The Steering Angle Calibration 02

Date: 10-13-2020

The wheel should be here any time now.
Last night I disconnected the battery and removed the airbag and steering wheel. The column trim came off pretty easily, once the steering wheel is off, there are two square holes behind where the steering wheel is on the lower column cover, using a small screwdriver slightly push in through those holes to release tabs and the upper cover hinges at the rear and comes off. The lower cover had two screws and some tabs inside the column cover that have to be pressed and it slides down and off. Disconnect the one plug on the power column switch. There is a foam piece screwed up to the bottom of the column with two t-20 screws, remove those and the piece comes off. Now you can get to replace the clockspring. One black connector and one yellow airbag connector on the lower backside of the switch assembly. I bought a used clockspring and switch setup, identical to mine but also included voice control and the pins for the heated wheel harness.
The new and old setup had the exact same pins on the connector.
After the two connectors are released there is one Allen bolt, I think it was a 6? I forget. And the switch assembly slides toward you. Only goes on one way, it does not turn or anything, it will always be straight. Slide the new on on until it abruptly stops, tighten Allen, plug in 2 connectors, reassemble column trim. The foam piece goes on with the two screws, make sure the harness for the column adjust is still there. Clip the lower colum trim on on the sides, and then screw in the two screws. The upper trim piece was a PITA to get back on. It doesn’t hinge down like it hinges up off. To put it back on it slides straight down into place, but as it slides down you have to make sure it aligns with the bottom of the column trim behind the stalks. Took 10 minutes fiddling to get it right.
I then disassembled steering wheel down to the metal frame and am waiting on the new wheel which should be arriving shortly.

X431 Pros Mini 958 2 Porsche Gts The Steering Angle Calibration 03

X431 Pros Mini 958 2 Porsche Gts The Steering Angle Calibration 04

X431 Pros Mini 958 2 Porsche Gts The Steering Angle Calibration 05

X431 Pros Mini 958 2 Porsche Gts The Steering Angle Calibration 06

X431 Pros Mini 958 2 Porsche Gts The Steering Angle Calibration 07

X431 Pros Mini 958 2 Porsche Gts The Steering Angle Calibration 08

X431 Pros Mini 958 2 Porsche Gts The Steering Angle Calibration 09

X431 Pros Mini 958 2 Porsche Gts The Steering Angle Calibration 10


Okay, have everything swapped to the new wheel, new wheel is installed, battery back on, cleared faults and performed steering angle sensor adaptation (using x431 pros mini), all is good and back to normal.
The clockspring and switch setup I bought is from a 2017 Cayenne. I have a 2016. 2017 has the PCM4.0 and a newer instrument cluster display with more pixels and different menus. So my diamond button worked, but neither telephone buttons or the back button worked at all, and now my right scroll wheel controlled volume and left scroll wheel controlled up and down cluster screens, but neither would click.
I got that recoded, there are two different communication protocols, I swapped it and all buttons are working properly again.

The steering wheel control module plugs into the clockspring assembly, and then the main car harness plugs into the clockspring. So it applied changes that the donor car the switch setup came out of, changed the communication protocol and it also coded the control module to have the heated wheel active. But it doesn’t work.
The voice control button works, but on the radio screen it says function not active. This is making me wonder, I believe the steering wheel control module has to be both coded and an activated for it to work.
I am going to keep working on this and get back to everyone.


Date: 10-16-2020

In summary of what has been done/needed so far…

-Heated steering wheel
-Heated wheel switch if you don’t get a complete wheel
-Clockspring with heated wheel power and ground pins (I used a complete clockspring and stalk assembly from a used car)
-PIWIS or Launch Computer to clear codes and recalibrate steering angle sensor, make sure steering wheel and instrument cluster are coded for the wheel and most importantly to input the activation code for heated wheel. (Activation code can only be obtained off the grey market porsche-code.com )

Everything I have touched is working like normal, no changes to any buttons or stalks, car is totally normal at this point but the wheel doesn’t work yet.

It looks like a new uncoded steering wheel control module is needed in my case. My factory module will accept the coding but won’t allow the wheel to work, and does not recognize when the heated wheel button is pressed. Another member ran into the same issue, everything coded and activated but a no go, replaced the module with a new one, didn’t even have to code anything and it instantly worked. So I am hopefully that will work in my case as well.


…………………. Not ending ………………..


My great appreciation to @ volcanogts who record all what he tested.


Okay, as you read above, you know @volcanogts has not completely solved his problem. If you know the solution, you can go to the forum to help him; if you are also interested in Launch x431 pros mini, you can visit www.obdii365.com

Original article:http://blog.obdii365.com/2020/10/23/x431-pros-mini-958-2-porsche-gts-steering-angle-calibration-confirmed/
2020年9月7日星期一

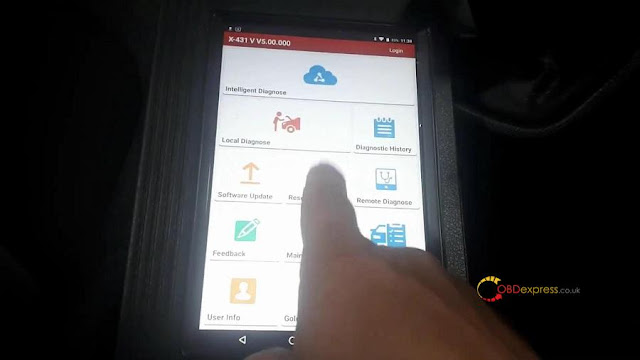
How to ...Launch x431 V Enables Hyundai Service Interval

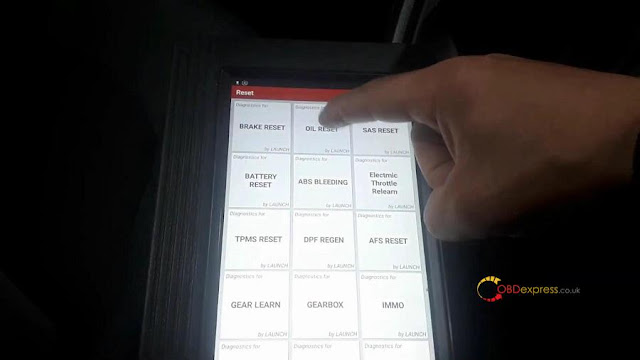
 Launch x431 V is able to do  Service Interval on Hyundai I10 I20, here is the step-by-step guide for you:


.Launch x431 V Enables Hyundai Service Interval 1


Go to "Reset".

.Launch x431 V Enables Hyundai Service Interval 2


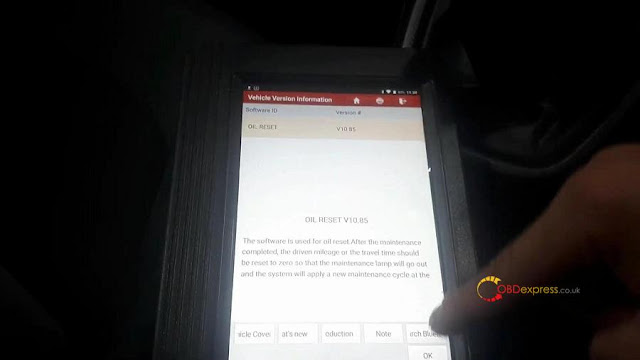
Oil reset.

.Launch x431 V Enables Hyundai Service Interval


Tap "OK".

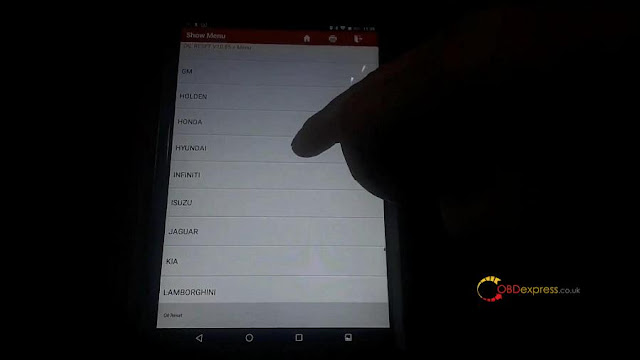
.Launch x431 V Enables Hyundai Service Interval 4


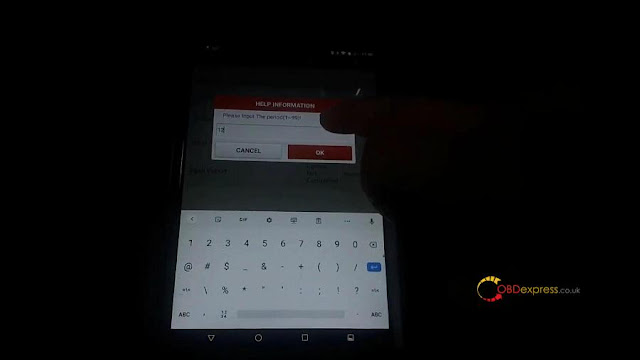
Go to "Hyundai".

.Launch x431 V Enables Hyundai Service Interval 5


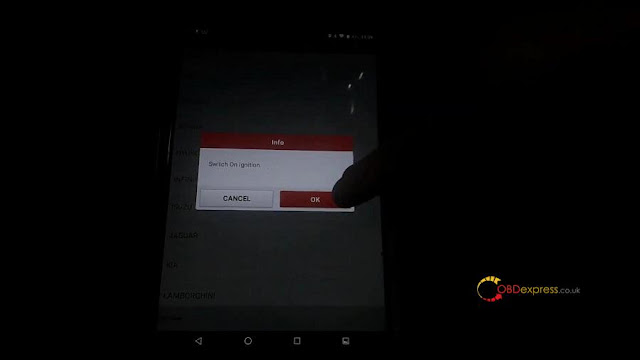
Switch on ignition as the screen pops up.

.Launch x431 V Enables Hyundai Service Interval 6

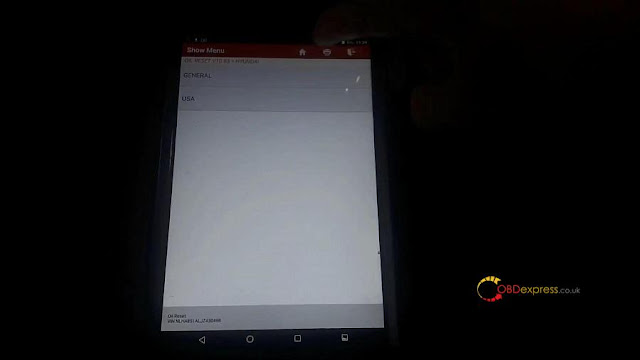
It will automatically read out the Vin number.


Tap "General".

 
.Launch x431 V Enables Hyundai Service Interval 7


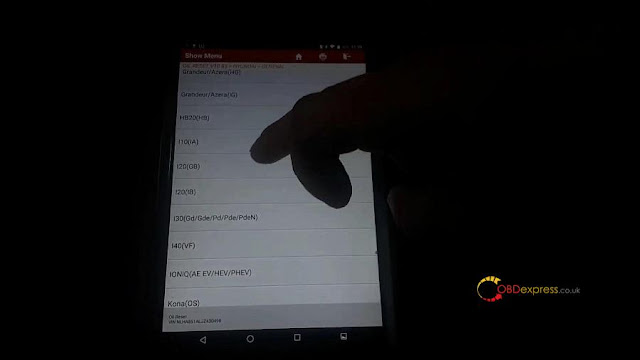
Tap "I10 (IA)".

.Launch x431 V Enables Hyundai Service Interval 8


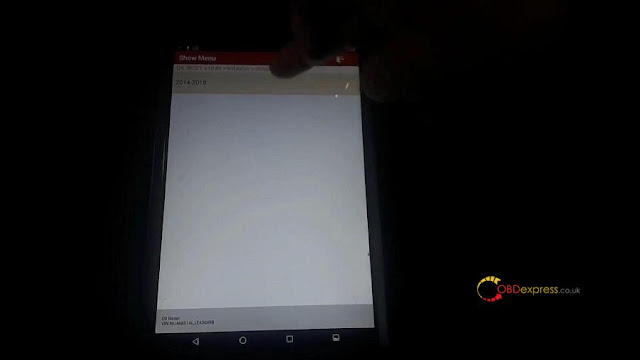
2014 - 2018.

.Launch x431 V Enables Hyundai Service Interval 10


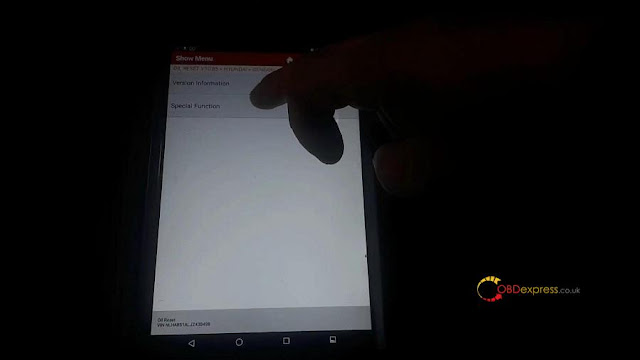
Special function.
.Launch x431 V Enables Hyundai Service Interval 12


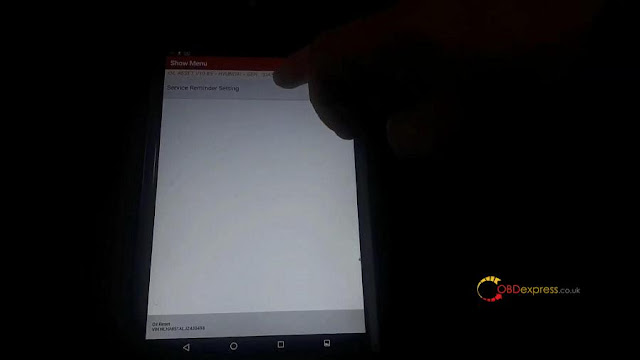
Service reminder setting.

.Launch x431 V Enables Hyundai Service Interval 12


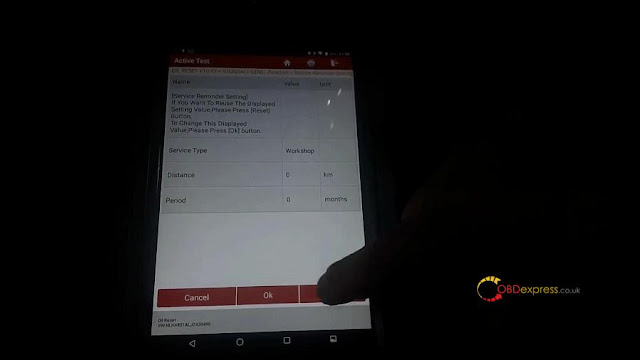
Tap "OK".
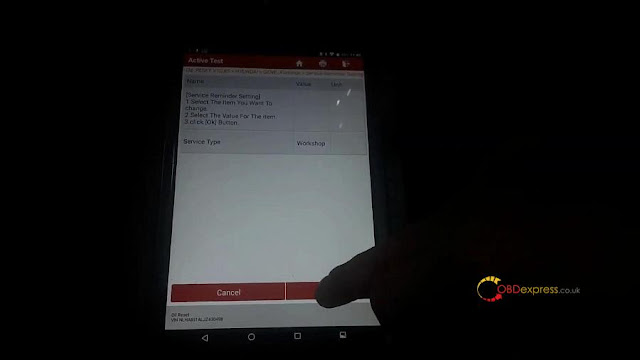
.Launch x431 V Enables Hyundai Service Interval 13


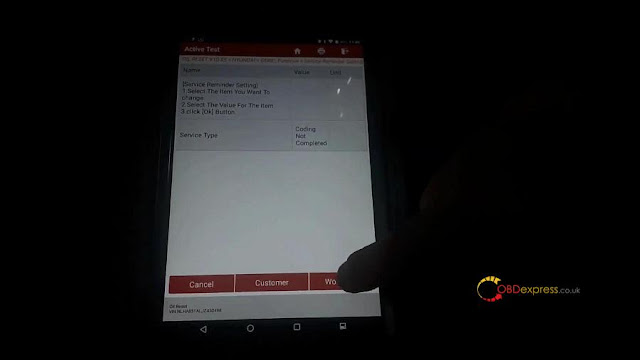
You see "Coding Not completed", tap "Workshop".

.Launch x431 V Enables Hyundai Service Interval 13


Tap "OK".

.Launch x431 V Enables Hyundai Service Interval 14


Save completed!

Press [OK] button.


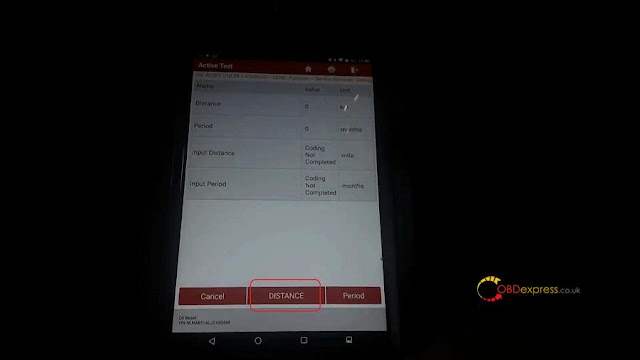
.Launch x431 V Enables Hyundai Service Interval 15


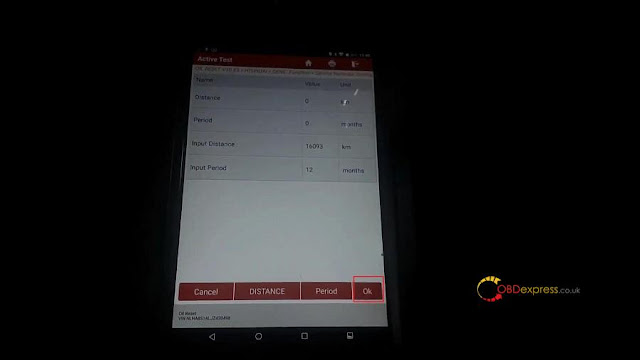
Tap "Distance".

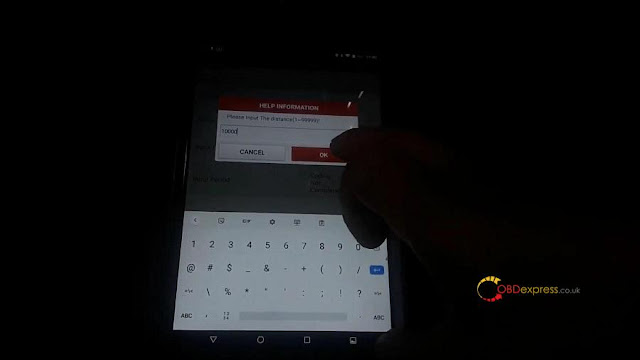
.Launch x431 V Enables Hyundai Service Interval 16


Please input the distance.
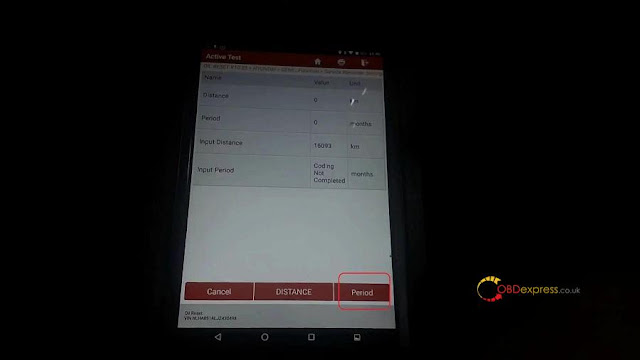
.Launch x431 V Enables Hyundai Service Interval17

Go to "Period".

.Launch x431 V Enables Hyundai Service Interval 18


Input the period "12".

.Launch x431 V Enables Hyundai Service Interval 19


Tap "OK"

.Launch x431 V Enables Hyundai Service Interval 20


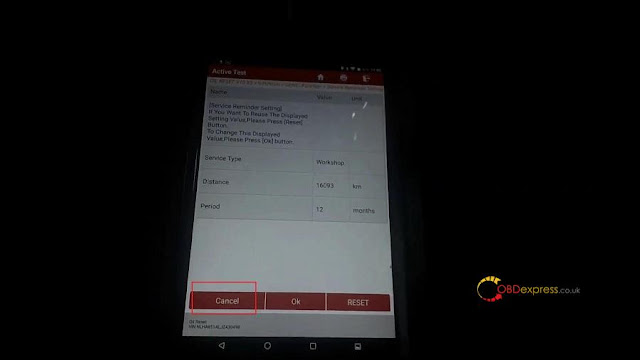
Save completed!

.Launch x431 V Enables Hyundai Service Interval 21


Tap "Cancel".

.Launch x431 V Enables Hyundai Service Interval 22


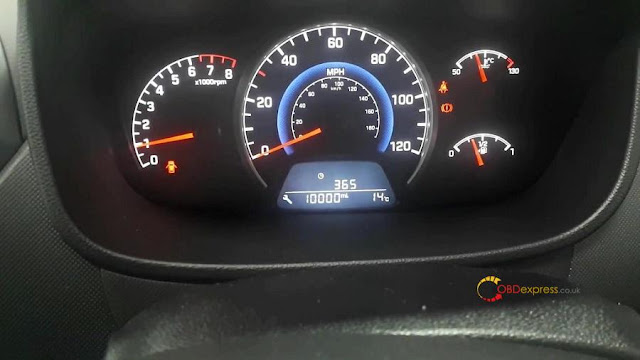
If you go down on the dash, let me write up a bit, let's go drip drip drip and 365 days and 10000 miles.

.Launch x431 V Enables Hyundai Service Interval 23


So this is how you set up the Service Interval, if it has not been setup, unfortunately you can only do it with the diagnostic machine like X431 V pro.
All right, thanks, hope it helps.

www.obdexpress.co.uk